AI Simulator
The AI Simulator shows customers how a product is expected to affect a skin concern over time, for example after one week, one month and one year. A visual preview helps customers set realistic expectations and decide faster.
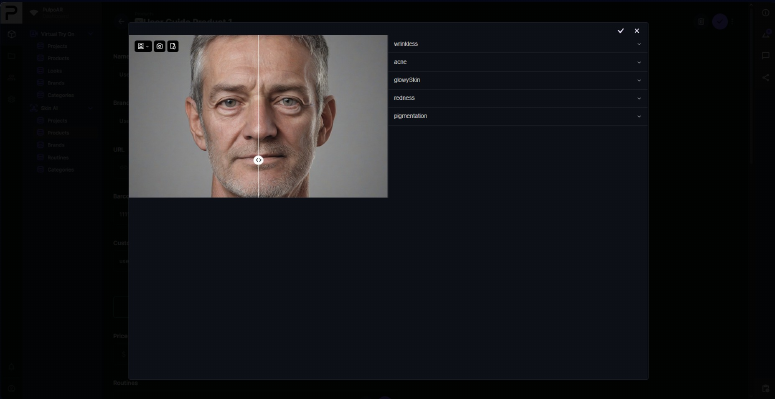
Turn it on
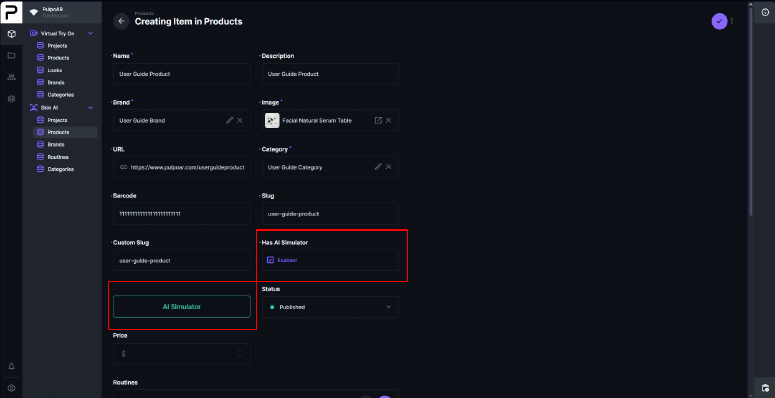
The AI Simulator needs to be on for both the project and the product:
- In the project, turn on Has AI Simulator.
- Open the product and select Has AI Simulator.
- Click AI Simulator to open the configuration screen.
Set up levels
-
Select a skin concern from the list. New concerns are added over time.
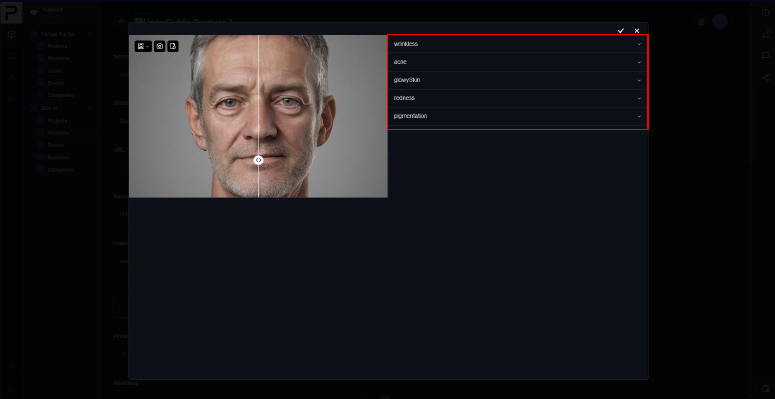
-
Click Add Level. Each concern can have one to three levels, usually one per point in time.
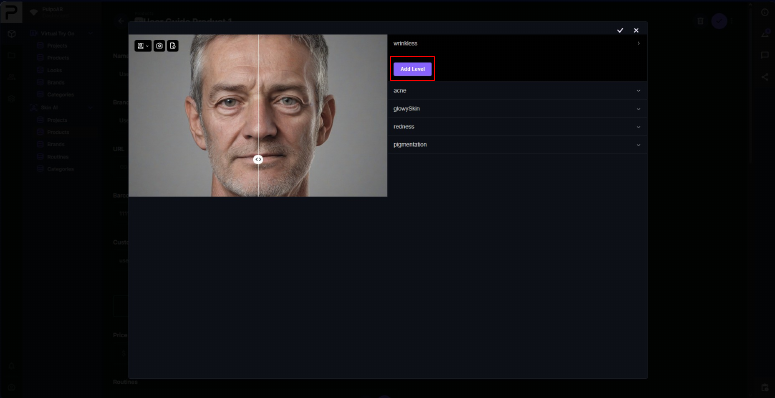
-
Set up each level and click Add Image to upload its visual.
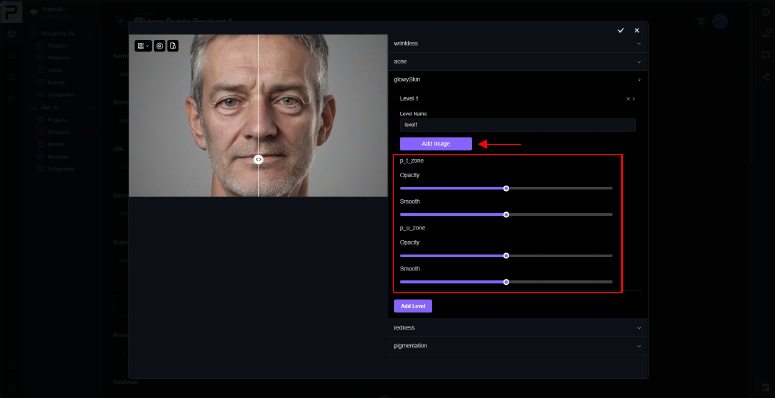
A product can have levels for several skin concerns.
What customers see
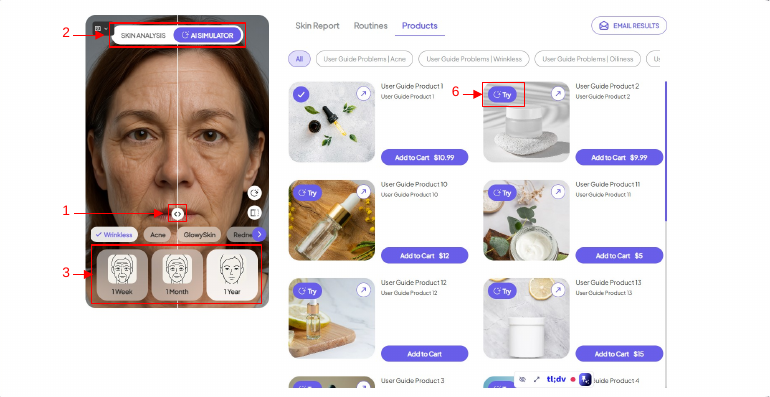
- A before and after view on the customer's photo.
- A switch between Skin Analysis and AI Simulator at the top.
- Level icons for the selected concern, for example 1 week, 1 month and 1 year.
- Each level shows the product's expected effect at that point in time.
- Recommended products for the selected concern.
- A Try button that previews each product's effect.
Tips
- Set it up for your best-selling products first.
- Use distinct, realistic images for each level.
- Match the time points to what the product claims. A one-year level doesn't fit an instant-effect product.