Theme Designer
Use the Theme Designer to make the Hair Color Try-On experience match your brand. It works the same way as the Makeup Virtual Try-On Theme Designer: a live preview on the left, and settings on the right.
Open it with Theme Designer on the project page. At the top, choose the template and the Language you're editing. Then use the Colors, Paths and Catalog tabs.
Colors
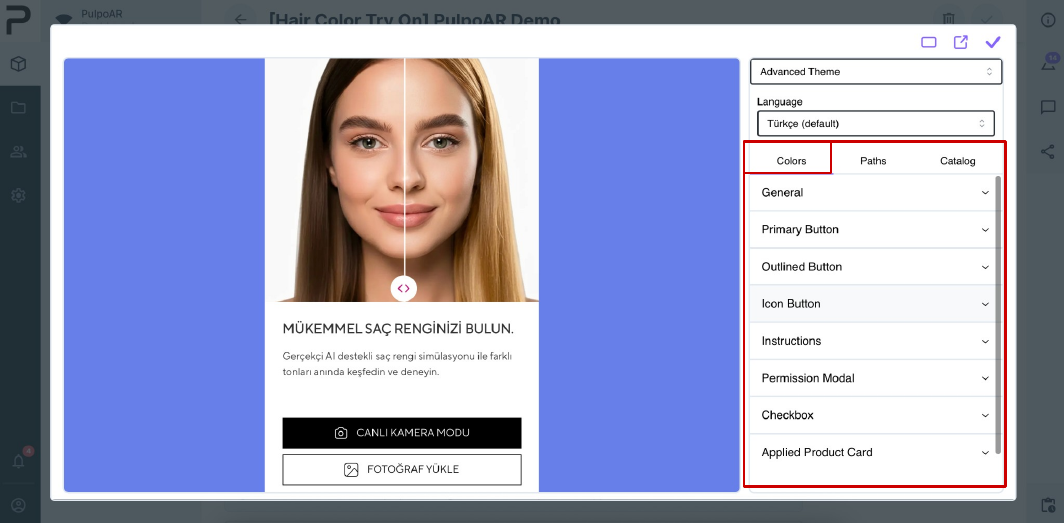
| Section | What it changes |
|---|---|
| General | Background, text and fonts across the experience. |
| Primary Button | The main button, for example "Live Camera Mode". |
| Outlined Button | The secondary button, for example "Upload a Photo". |
| Icon Button | Buttons that show only an icon. |
| Instructions | The guidance text. |
| Permission Modal | The camera and photo permission dialog. |
| Checkbox | Checkboxes, for example on the consent screen. |
| Applied Product Card | The card for the shade being tried on. |
| Products | Product cards, including the out-of-stock label color. |
Paths
The Paths tab sets the text on each screen.
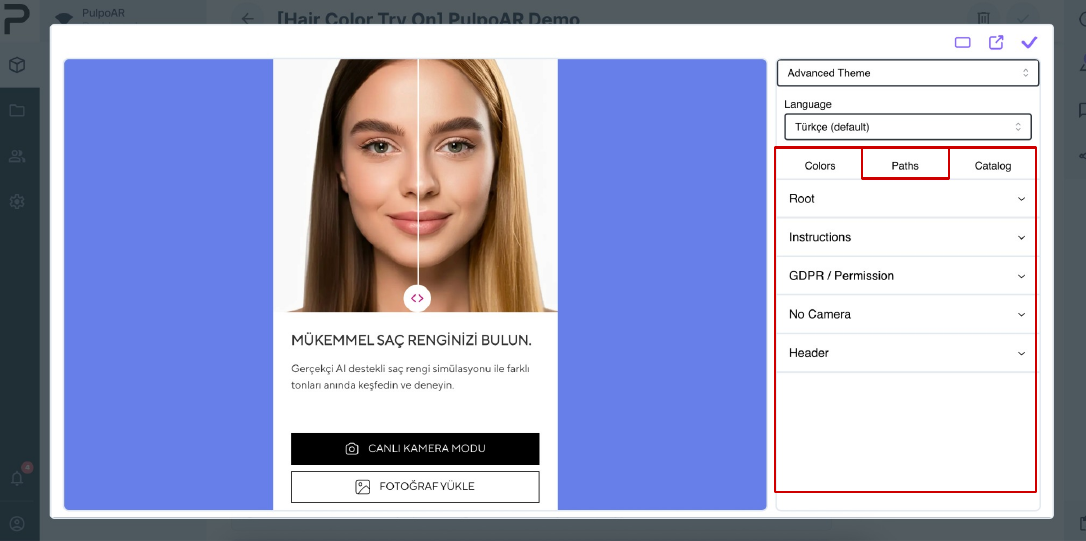
| Section | What it changes |
|---|---|
| Root | The start screen. |
| Instructions | The heading and description that guide the customer. |
| GDPR / Permission | The consent and permission text. Replace it with your own legally reviewed text. |
| No Camera | The screen shown when the camera isn't available or is blocked. |
| Header | The header bar. |
Catalog
The Catalog tab sets the labels and buttons in the product catalog.
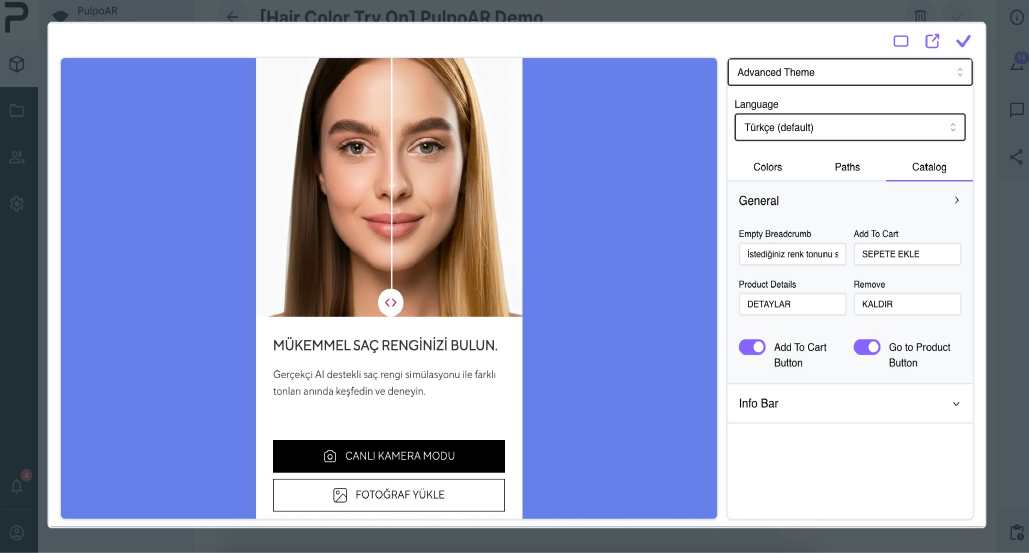
| Field | What it changes |
|---|---|
| Empty Breadcrumb | The text shown before a shade is picked, for example "Pick a shade to try". |
| Add To Cart | The Add to Cart button label. |
| Product Details | The Product Details button label. |
| Remove | The Remove button label. |
| Out of Stock | The label on out-of-stock shades. |
| Add To Cart Button | Shows or hides the Add to Cart button. |
| Go to Product Button | Shows or hides the Go to Product button. |
Keep button labels short. Long labels can break the catalog layout.
Preview and save
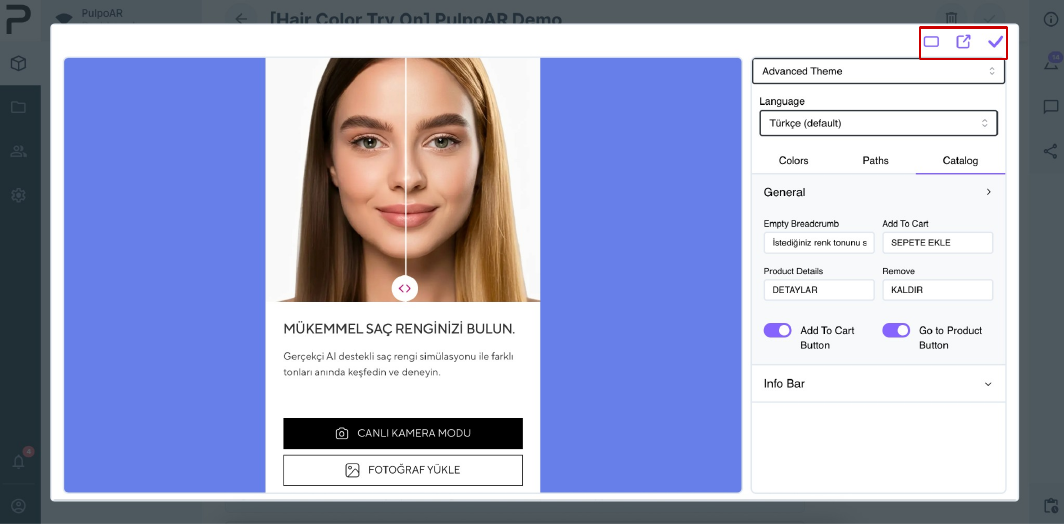
Use the three buttons at the top right:
- View mode: switch the preview between desktop and mobile.
- Open in new tab: try the experience like a customer.
- Save: save your changes to the project.
Saved changes go live
If the project is Published, your changes are live as soon as you save. Set the project to Draft while you make big changes.